

February 2, 2024
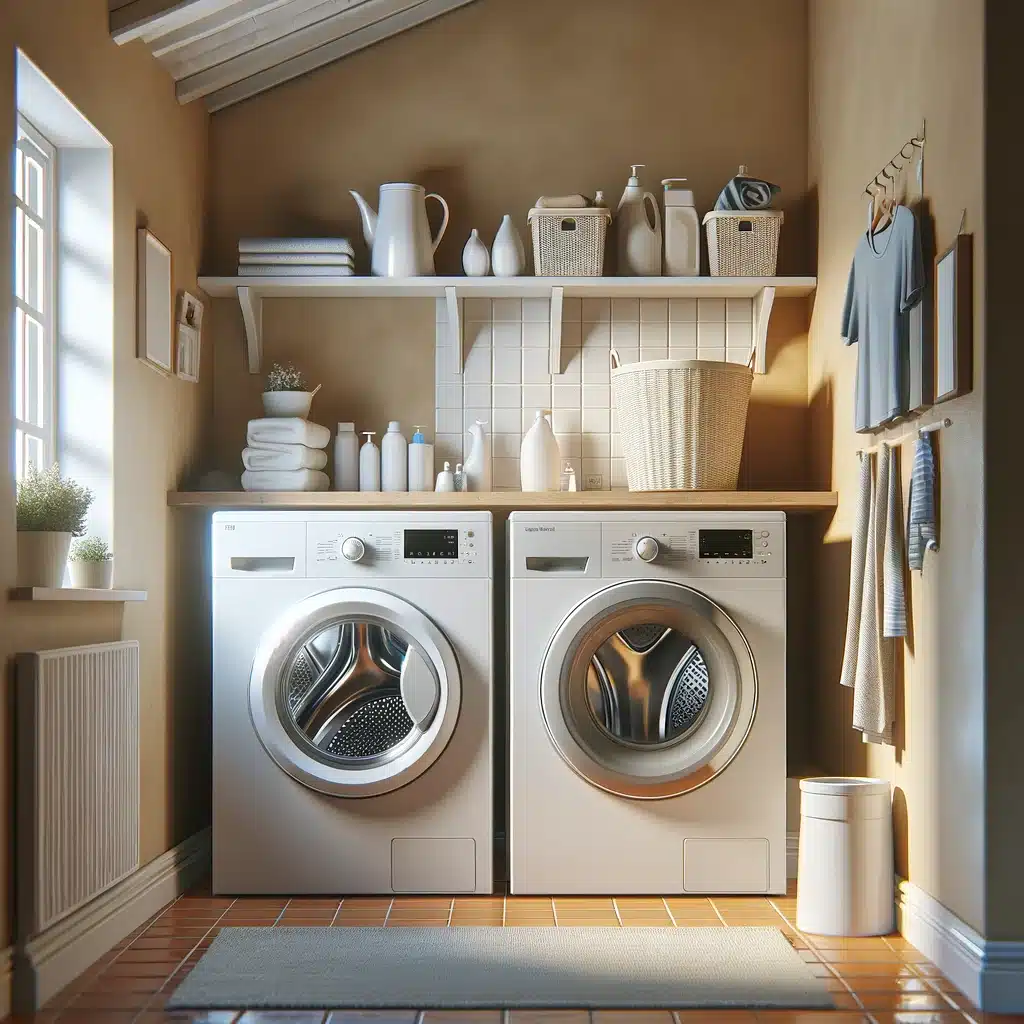
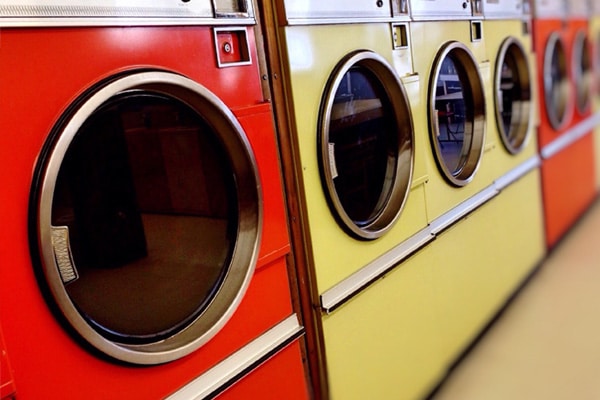
Dryer Repair
If your Amana dryer isn’t heating, you won’t be able to do your laundry correctly. In this guide, we will take you through how to resolve the issue so you can start using your appliance again. From checking the heating element to inspecting vital safety features like the thermal fuse and gas valve solenoids, follow these comprehensive steps, and you’ll be able to diagnose and rectify the heating problem in your Amana dryer.
All major Amana dryer models are covered in this guide, including:
ALE643RBW
CE2402/P7762235W
CE2402/P7762335W
CE4317L2/PCE4317L2
CE4317W2/PCE4317W2
CE8317W2/PCE8317W2
CE8407W/PCE8407W
DLE330RAW
DLG330RAW
LEA30AW
LEA60AW
LGA30AW
LGA60AW
NDE2330AYW
NDE2335AYW
NDE7800AYW
NDG2330AWW
NED4655EW1
NED5100TQ1
NED7200TW10
NED7300WW1
Step 1 – Inspect the heating element
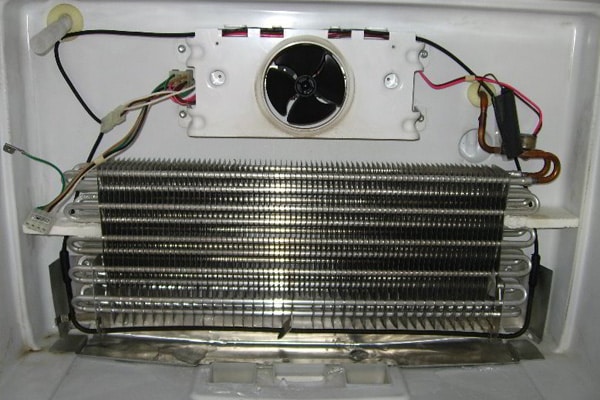
When you turn your Amana dryer on to a cycle, the heating element warms the air before it enters the dryer drum. This makes it pivotal for proper heating. Gradually, this element can deteriorate or sustain damage, affecting its functionality.
A visual inspection for damage and a multimeter test for continuity is necessary to check the heating element for issues. If the element is faulty, it will need to be replaced.
Follow these instructions to inspect the heating element:
- Disconnect the dryer’s power supply.
- Unfasten the back panel (in some models, removing the front panel and dryer drum might be required).
- Locate the metal casing that houses the heating element.
- Once located, disconnect the wire harness linked to the casing.
- Inspect the heating element for any damage. If damaged, replacement is required as they cannot be repaired.
- If undamaged, use a multimeter to assess continuity in the heating element terminals. If there’s no continuity, a replacement is necessary. If continuity is detected, reattach the wire harness and proceed to step 2.
- After replacing the heating element, test its functionality by turning on the dryer to ensure proper heating. If issues persist, proceed to the next step.
Step 2 – Inspect the thermal fuse
The next step in our guide for fixing an Amana dryer that isn’t heating is to check the thermal fuse. This safety feature prevents overheating in the dryer. If the dryer overheats, the fuse blows, and the heating process stops. Unfortunately, a blown thermal fuse must be replaced as it cannot be repaired. It’s crucial to identify the cause of a blown fuse to prevent future occurrences, which are often attributed to lint buildup obstructing airflow.
To inspect the thermal fuse, follow these instructions:
- Disconnect the power to the dryer.
- Locate the thermal fuse. The fuse is typically positioned at the rear of the dryer, near the blower housing or heating element casing in electric dryers, or close to the burner in gas dryers.
- Once the thermal fuse is found, disconnect the wire harness attached to it.
- Use a multimeter to test the thermal fuse for continuity. No continuity indicates a blown fuse, which means replacement is necessary. If the fuse has continuity, reattach it and proceed to the next step.
- After replacing the thermal fuse, test the dryer’s heating functionality. If your dryer can not heat properly, check the lint filter and vent to ensure no lint is built up. If so, clean the filter and vent. If replacing the thermal fuse doesn’t solve the problem, proceed to the next step in this guide.
Step 3 – Check the gas valve solenoid
The next step is for gas dryers only. If you have an electric dryer, proceed to step 4. Gas dryers feature gas valve solenoid coils that regulate gas flow into the burner assembly. A defective solenoid impedes heating.
To diagnose a failed solenoid coil, follow these instructions:
- Ensure the power and gas are turned on.
- Locate the igniter (if required, consult your user manual).
- Once located, check if the igniter glows but fails to ignite the flame. If so, this indicates a solenoid failure. If the igniter ignites the flame, you can assume the solenoid is working correctly and proceed to the next step.
- It’s advisable to replace all solenoid coils if one is faulty to prevent future issues. After replacement, test the dryer’s heating. If problems persist, proceed to the next step.
Step 4 – Check the high-limit thermostat
The high-limit thermostat monitors the dryer’s temperature and halts the cycle if it senses overheating. A malfunctioning thermostat must be replaced before your Amana dryer can work again.
To check the high-limit thermostat, follow these instructions:
- Disconnect the power to the dryer.
- Locate the high-limit thermostat. It is often situated at the rear or front of the dryer.
- Once located, disconnect the wire harness from the thermostat.
- Use a multimeter to test the thermostat for continuity. If continuity is absent, replace the thermostat. If continuity is present, reattach the thermostat and proceed to the next step.
- After replacement, test the dryer’s heating functionality. If issues persist, proceed to the next step.
Step 5 – Check the cycling thermostat
The cycling thermostat regulates the dryer’s air temperature during the cycle. If it becomes defective, your Amana dryer won’t heat up before being replaced.
To check the cycling thermostat, follow these instructions:
- Disconnect the power to the dryer.
- Locate the cycling thermostat. It can usually be found at the rear of the dryer.
- Once located, disconnect the wire harness.
- Test the thermostat with a multimeter for continuity. If no continuity is detected, replace the thermostat. If continuity is present, reattach the cycling thermostat and proceed to the next step.
- After replacement, test the dryer’s heating functionality. If issues persist, proceed to the next step.
Step 6 – Test the incoming power
The final step is to ensure the dryer is receiving the correct voltage. Amana dryers require 240 volts (120 volts per leg) to function optimally. If the incoming power isn’t correct, your dryer won’t heat.
Follow these instructions to test the incoming power:
- To test the incoming power, you need to use a multimeter.
- If you find the voltage isn’t correct, reset the circuit breaker.
- If a reset doesn’t solve the problem, a technician will need to inspect your dryer and power supply.
Feb. 02, 2024
Amana Dryer Not Heating? Follow These Steps to Fix it
Apr. 04, 2018
Appliance Repair: 5 Hacks for Buying the Right Oven
Mar. 31, 2018
Appliance Repair: 5 Hacks for Buying the Right Oven
Mar. 21, 2018
Tips for Deciding: Repair or Replace That Dryer?
Mar. 14, 2018